This guide shows you how to fix blue screen of death errors (or BSoD errors) for Windows 8.
Contents
Common fixes
In Windows 8, most Blue Screen of Death errors can be fixed by using System Restore (if enabled and a restore point is available) or by removing the recently installed software or driver that caused the error and rebooting Windows 8.
Method #1: Use System Restore
Follow the steps from Restore Windows 8 guide on how to restore the system.
Method #2: Install updates
If Windows updates aren’t installed in Windows 8, you need to do so manually:
- Click Settings (press Windows key and C to open the panel with the Settings icon)
- Click Change PC settings
- Click Update and recovery
- Click Windows Update
- Click Install updates
Method #3: Windows 7 instructions
Follow the tips from Windows 7 even if you have Windows 8, for those steps that are available for your system.
Method #4: Remove recent software or drivers
Uninstall from your system any recently installed software, utility tools or device drivers.
INACCESSIBLE BOOT DEVICE
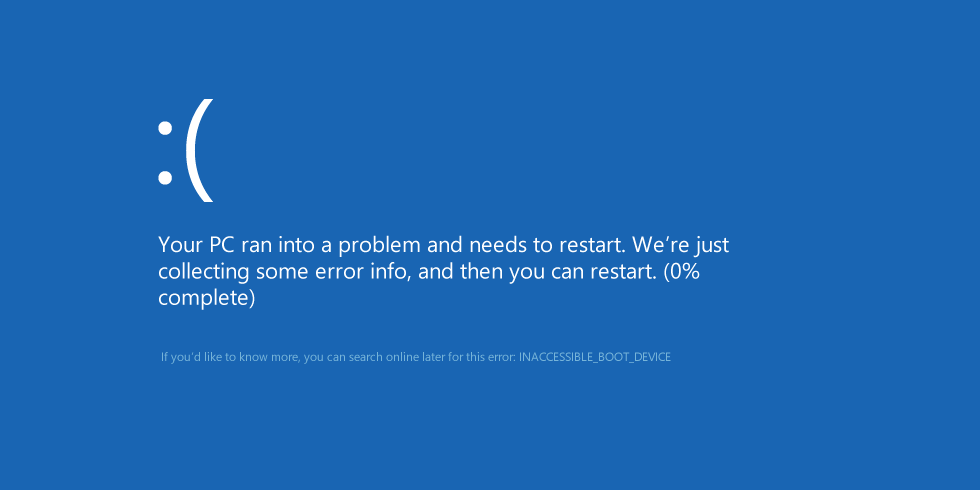
To fix the blue screen error with the name “INACCESSIBLE_BOOT_DEVICE”, try any of the following fixes explained below:
Fix #1: Run the chkdsk command
You need your original Windows 8 installation disc for this:
- Insert the installation disc
- Restart your PC
- Press any key to boot from the disc
- Click Repair your computer
- Select Troubleshoot, then Advanced Options, then Command Prompt
- Type this command:
chkdsk /f /r
- Hit Enter
Fix #2: Reconfigure BCD
If the Boot Configuration Data (BCD) has been damaged, rebuild it:
- Boot from the original install disk
- Click Repair your computer
- Choose Troubleshoot, then Command Prompt
- Type the following commands:
bootrec /fixmbr
bootrec /fixboot
bootrec /scanos
bootrec /rebuildbcd
- Type exit and remove the installation disk from the disk tray
- Hit Enter
- Restart the computer
If you don’t have the installation disk, use Easy Recovery Essentials to rebuild the BCD:
- Download Easy Recovery Essentials from here. Choose your Windows version (XP, Vista, 7 or 8) before you go to download
- Burn the image. Follow these instructions on how to burn the bootable ISO image very carefully, as making a bootable CD can be tricky!
- Boot into Easy Recovery Essentials
- Choose Automated Repair option and click Continue

- Choose your Windows installation drive’s letter (usually C:\) and click Automated Repair
- Wait for Easy Recovery Essentials to complete the process
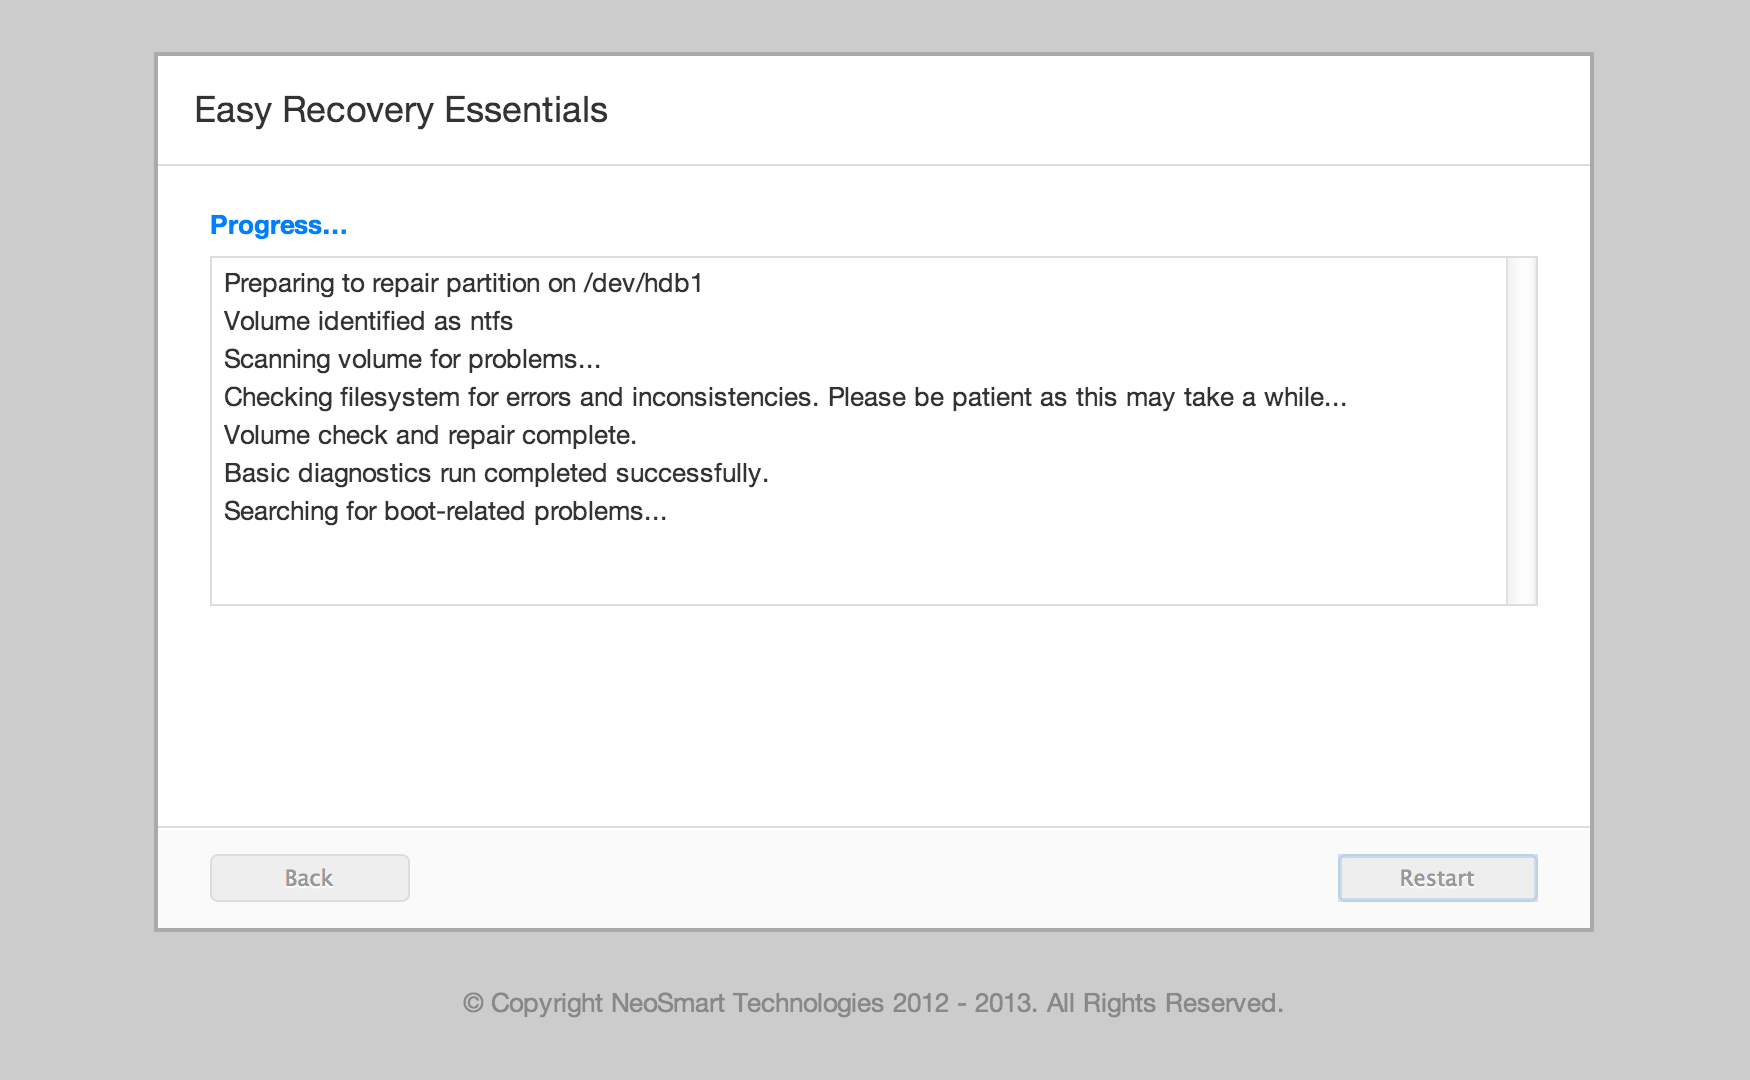
- Once the process is complete, click Restart
If the above commands do not fix the INACCESSIBLE_BOOT_DEVICE error, try the steps to fix the Windows 8′ EFI bootloader:
- Restart your computer and boot from the installation disk
- Click Repair your computer, then Troubleshoot, and then Command Prompt
- Type these commands in Command Prompt:
diskpart
sel disk 0
list vol
- The EFI partition is formatted under the FAT32 system. Check for the volume item that has “FAT32” in the “Fs” column.
- If the volume number of EFI partition is “1”, type the following command:
sel vol 1
- Assign a letter to this partition, one that is not available, for example
x:\. Type this command to assign the letter:assign letter=x:
- When the success message appears (“DiskPart successfully assigned the drive letter or mount point.“), type
exitto quit the DiskPart utility - Type the next command, but remember to replace
x:with the partition’s letter you chose earlier:cd /d x:\EFI\Microsoft\Boot\
- Type the bootrec command:
bootrec /fixboot
- Backup the old BCD with this command:
ren BCD BCD.backup
- Recreate the BCD, but remember to replace
x:with the partition’s letter you chose earlier:bcdboot c:\Windows /l en-us /s x: /f ALL
- Type
exitand remove your installation disk from the disk tray - Restart your computer
Fix #3: Check for faulty RAM module or hardware
If you have multiple RAM modules, try remove all of them except one and reboot your system.
Also, if you recently added a new piece of hardware to your PC, remove it and reboot the system.
NTFS FILE SYSTEM
The Blue Screen of Death (BSoD) error with the name of “NTFS_FILE_SYSTEM”, in Windows 8, usually appears if your hard disk has data corruption.
You can try to fix this error by following any of the below methods:
Method #1: Run the chkdsk command
You need the original Windows 8 installation disk to run Command Prompt:
- Insert the disc and restart your PC
- Press any key to boot from the disc
- Click Repair your computer
- Select Troubleshoot, then Advanced Options, then Command Prompt
- Type this command:
chkdsk /f /r
- Hit Enter
Method #2: Check the cables
Make sure all your hard disk cables are connected properly.
Method #3: Reinstall Windows or replace the hard disk
If Method #1 or Method #2 above do not fix the error, you reinstall Windows 8 or replace your hard disk with a new one.
SYSTEM THREAD EXCEPTION NOT HANDLED
This Blue Screen of Death (BSoD) error, System Thread Exception Not Handled, mostly appears because of incompatible graphics drivers.

You can fix this error in Windows 8 by rebooting into Safe Mode and then uninstalling the current graphics driver and installing the latest version available from the vendor.
- Restart your computer
- Press the F8 key (or Shift + F8)
- Click Repair your computer
- Click Troubleshoot, then Advanced options, then Windows Startup Settings
- Click Restart
- At the Advanced Boot Options, select Safe Mode and hit Enter
To continue with uninstalling the driver, once you booted into Windows 8 Safe Mode, do these steps:
- Go to Settings
- Click Control Panel
- Click Device Manager
- Search for the “Display adapters” category from the list
- Uninstall the driver available under the Display adapters category by right-clicking on the available driver and then clicking Uninstall
- Confirm the procedure and wait for the driver to be uninstalled
- Restart Windows 8
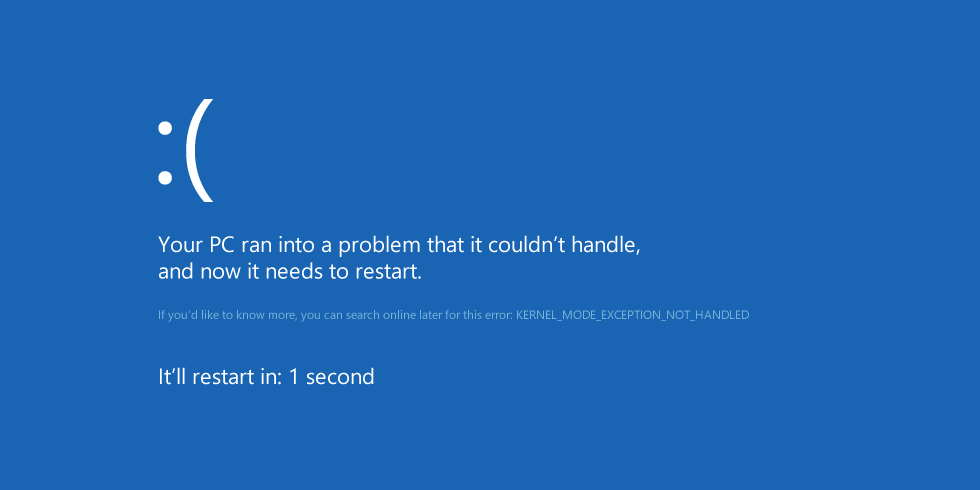
KERNEL MODE EXCEPTION NOT HANDLED
The Blue Screen of Death (BSoD) errors with the name “KERNEL_MODE_EXCEPTION_NOT_HANDLED” in Windows 8 can be fixed by following any of fixed explained below.
Beside these fixes, it’s best to also try some basic troubleshooting techniques:
- Make sure you have enough space on your hard disk
- Check the hard disk cables are properly connected
- If you recently installed a software or a driver, uninstall it and reboot
- If you recently added a new hardware, remove it and reboot to check if the error appears again. This error can be caused by incompatible hardware with your system.
Fix #1: Update BIOS
Your computer’s manufacturer website has information about the latest BIOS version you should run on your computer. If your BIOS current version isn’t the latest available, upgrade the BIOS and reboot the system.
The computer’s manufacturer website should have guides available on how to upgrade BIOS.
Fix #2: Uninstall software or remove hardware
Remove any hardware pieces you may have added to your system and reboot. Also, if you installed something lately, uninstall it and reboot.
If you can’t boot to remove a driver or a software program, reboot Windows 8 in Safe Mode to be able to run the uninstall process.
PAGE FAULT IN NONPAGED AREA
The Blue Screen of Death (BSoD) error with the name “PAGE FAULT IN NONPAGED AREA” can be caused by a faulty hardware with the RAM.
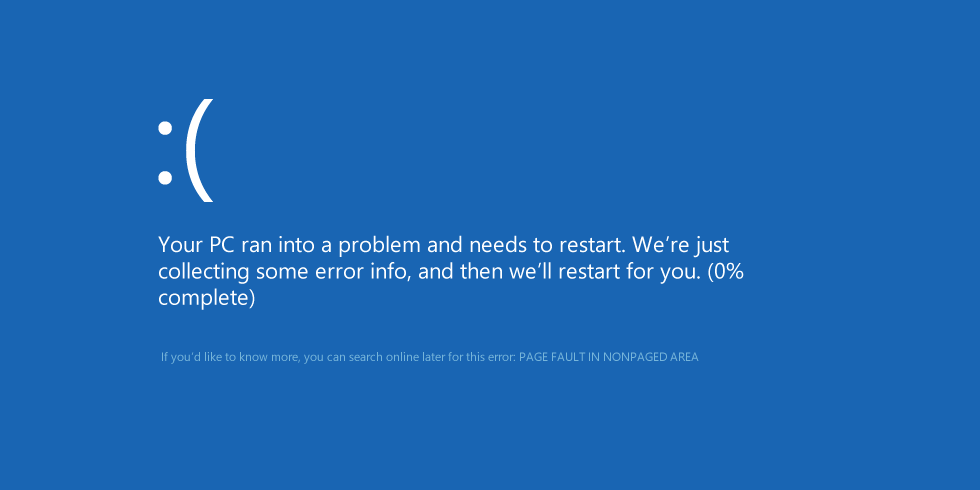
To fix this error, try the following tips.
Tip #1: Check RAM and hardware cables
Make sure the RAM modules are not faulty. You can try removing all modules, except one single module and reboot your Windows 8 system with this only RAM module.
Make sure that all your hard disk cables are connected properly.
If you added hardware recently, remove it and reboot the system to check for a result.
Tip #2: Uninstall any new drivers
Boot your system into Safe Mode by following the steps below and uninstall any new drivers or software:
- Restart your computer
- Press the F8 key (or Shift and F8)
- Click Repair your computer
- Click Troubleshoot, then Advanced options, then Windows Startup Settings
- Click Restart
- At the Advanced Boot Options, select Safe Mode and hit Enter
If, once booted into Safe Mode and there is no driver or software to uninstall, open Command Prompt and run the chkdsk command:
- Type
cmdin the Search Box - Click Command Prompt from the list of results
- Type:
chkdsk /f
- Hit Enter
DRIVER IRQL NOT LESS THAN OR EQUAL TO
The Blue Screen of Death (BSoD) error of “DRIVER IRQL NOT LESS THAN OR EQUAL TO” is usually caused by a faulty driver installed on your system.
To fix this error, you need to uninstall the driver or make sure you have the latest available version of that driver installed on your system.
You can boot Windows 8 into Safe Mode for this procedure.
THREAD STUCK IN DEVICE DRIVER
The Blue Screen of Death (BSoD) error of “THREAD STUCK IN DEVICE DRIVER” in Windows 8 is usually caused by a loop of the video graphic driver.
To fix this error, you can try:
- Make sure your video driver is updated to the latest version.
- Updating BIOS to the latest available version. Your computer’s manufacturer website should have all the information you need to update BIOS.
If the tips above don’t fix the error for you, consider exchanging the video card.
More Information
Linked Entries
Support Links
- Easy Recovery Essentials for Windows – our repair and recovery disk.
It’s an easy-to-use and automated diagnostics disk. It’s available for Windows 8, Windows 7 and Windows Vista. It’s also available for Windows XP and Windows Server.Read more at Windows Recovery Disks.
- The NeoSmart Support Forums, member-to-member technical support and troubleshooting.
- Get a discounted price on replacement setup and installation discs: Windows 8.
Applicable Systems
This Windows-related knowledgebase article applies to the following operating systems:
- Windows 8 (all editions)
- Windows 8.1 (all editions)