
If you’re looking for answers on how to install Microsoft Windows Vista, then you’ve come to the right place! We won’t keep you held up with any introduction as to what Windows Vista is or any of its new features, not only would that take up more of your precious time, but it would also ruin the surprise of all the goodies that are included with the operating system. Without further ado, let’s get started, shall we?
Contents
Before We Begin…
To install Windows Vista, your computer needs to meet the following requirements (please note that these requirements are set forth by NeoSmart Technologies and differ from the official Microsoft requirements, as we feel that these requirements will provide an optimal Windows Vista experience):
- 1.2 GHz 32-bit (x86) or 64-bit (x64) processor
- 1024MiB (1 GiB) of system memory
- DirectX 9-class graphics card with 128 MB of graphics memory
- 20GiB hard disk that has 15 GB of free hard disk space
- Internal or external DVD drive
Once you have ensured that you meet the system requirements for installing Windows Vista, you will need to actually obtain the operating system installation media. This can either be a retail (“boxed”) copy that you purchased at a computer store, it could be an OEM version that you purchased for your system, or it could be a disc image file (such as an “ISO”). This installation media contains the operating system itself and all of the required setup components to successfully complete the setup process.
If you have an ISO disc image file, you will need to record it to a DVD-R or DVD+R media using a program such as ImgBurn, which is a free application which allows you to create and record disc images. For more information on this topic, please see our guide on burning ISO images to a CD or DVD.
Installing Windows Vista
Once you have your Windows Vista DVD ready to roll, place it in your DVD-ROM or DVD±RW drive and restart your computer. During the start-up process, you will be prompted with a message stating “Press any key to boot from CD/DVD…”, tap the Enter key on your keyboard to accept the prompt.
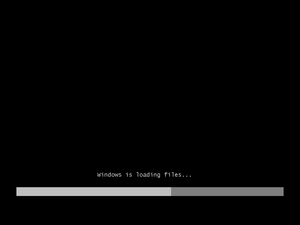
You will then see a progress bar with a message stating “Windows is loading files…”, this process usually takes about 2 to 3 minutes depending on the read speed of your DVD drive, the speed of your computer, and other variables, so please be patient.


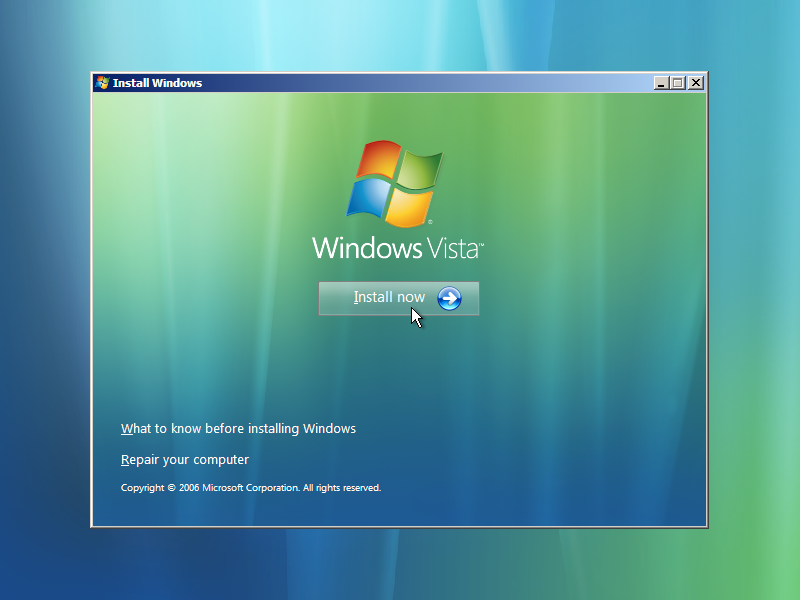
After Windows has loaded the required setup files, you will be presented with a screen which asks you for your language and location. For a lot of people, the default [English (United States)] is more than sufficient. If you plan on using a different language, you can change the option here. Once you’ve selected the correct language and location that you’d like to use, click on the Next button, and then click on “Install now”.

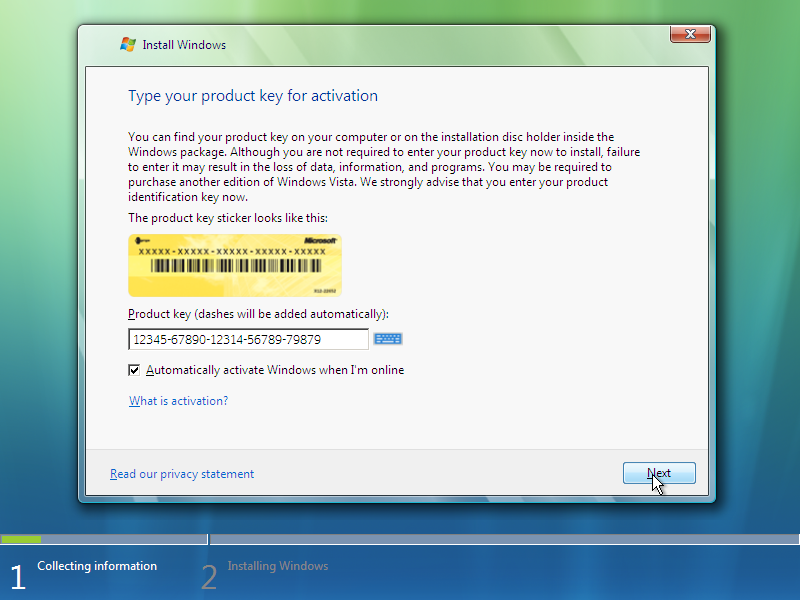
Windows will first prompt you for a product key, you can usually find this on your Windows Vista retail packaging, or on MSDN/TechNet if you have a subscription through Microsoft. If you are installing an OEM copy of Windows Vista, you will be able to find your product key that corresponds with your edition of Windows Vista located on the computer itself (on desktops, this is usually on the top or on the side, on notebook computers this sticker is located on the bottom). Type your product key in the field provided and click on Next to proceed.
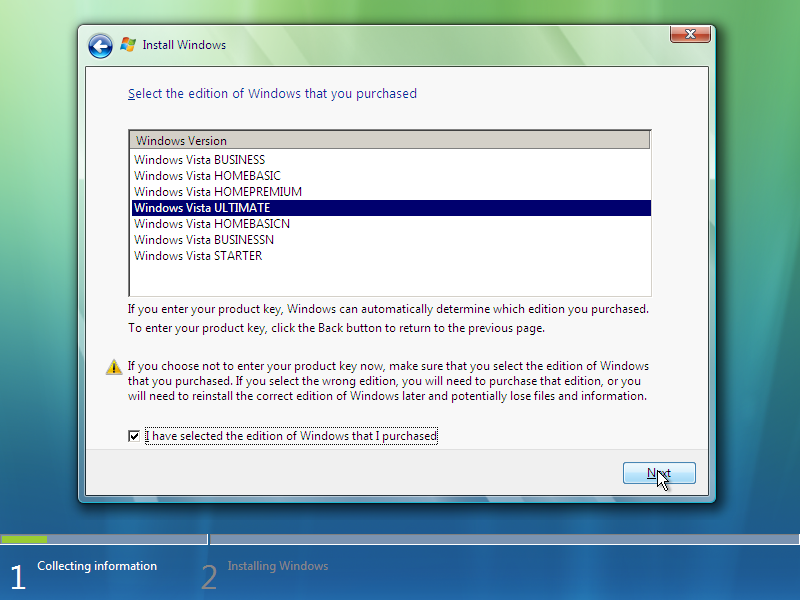
If you do not have a product key for Windows Vista, you can continue through setup to install a 30-day key-less version of Windows Vista by simply pressing “Next”, and when prompted for a product key, press “No”. Select the edition of Windows Vista you wish to install and check “I have selected the version of Windows Vista I have purchased”.
You can provide a product key to the Windows operating system within 30 days of installation. This method is highly recommended for those of you planning on evaluating Windows Vista in a pre-production environment where you would not want to use an activation.
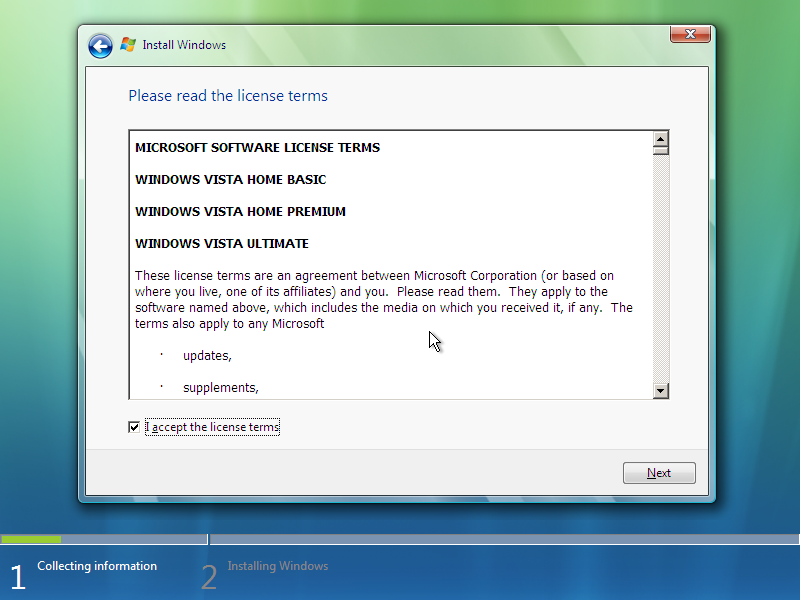
Next, you will be presented with the Microsoft Software License Terms (this is also Microsoft’s fancy name for their End User License Agreement, or “EULA”). Read through this agreement, and if you agree, place a checkmark in the checkbox next to “I accept the license terms”, and then click on Next.
NOTE: If you do not agree to the license terms, the setup process will end.
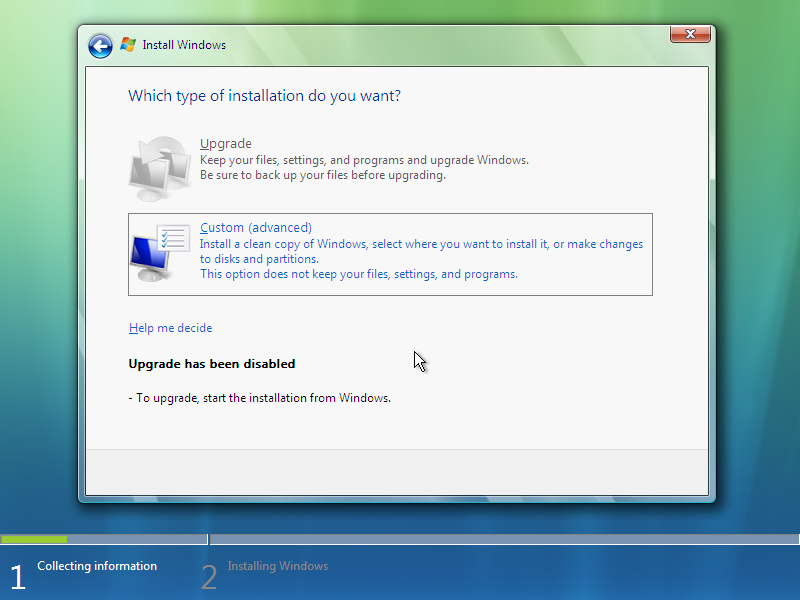
You will be presented with two options at this point of setup, “Upgrade” and “Custom”. As we have started the installation process from the installation itself, “Upgrade” will be greyed out which only leaves you with one option, which is “Custom”. This option will allow us to create a fresh installation of the Windows Vista operating system, which is highly recommended.
After selecting a custom installation, you will be presented with a list of your hard disks and their assigned partitions. Select the partition that you want to use for the operating system, click on “Drive options (advanced)”, and then click on “Format”.
IMPORTANT: Formatting will erase the data contained within the selected partition. Please make absolutely sure that you have selected the correct partition before formatting.

Once the partition has been formatted, click on Next, and the Windows installation process will begin. At this point, you can get a cup of coffee, grab a bottle of your favorite soft drink, or microwave some pizza pockets or other snack food, because this process can take about 15 to 20 minutes or so, depending on your computer configuration and specifications.

Final Phase of Windows Setup and Out of the Box Experience (OOBE)
Windows setup will restart after it copies files, installs features, and configures updates. When the computer restarts and you are prompted with the familiar “Press any key to boot from CD/DVD…” message do not press any keys on your keyboard, as we actually need to get the computer to start into the new Windows installation. After Windows has booted up, you will see a message stating “Windows is preparing to start for the first time…”, this will take around 25 seconds – 1 minute on an average computer system. The setup process will then continue, at this point Windows is installing the necessary drivers for your hardware devices. You may see the screen flash or flicker several times during this process (for those of you with some NVIDIA graphics cards, you may even be presented with musical notes).
Now that the drivers for your hardware devices are installed, the system will restart again. When the operating system has completely finished starting up, you will be presented with the Windows Out of the Box Experience (commonly known as “OOBE”). This process allows you to create a user name, set the network name of the computer, set the date and time on the computer, select pre-configured security options, and select a network location if the computer is connected to the Internet or a Local Area Network (“LAN”). This process is very straight-forward, just follow through the on-screen instructions and click on Next for each page of the wizard.
After you have completed the initial setup wizard, Windows will run a test on your computer hardware to determine your level of performance (this is determined by running several tests on your CPU, RAM, graphics card, DirectX rendering capabilities, Windows Media performance, and more), which will then give you a Windows Experience Index (also known as a “WEI” or “WinSAT” score). This test can take a few minutes, so please be patient. You’ll see feature showcases during the process, along with a progress bar so that you can see the progress of test completion.
With the Windows Experience Index initial test out of the way, you will be presented by the Windows Welcome screen. If you entered a password during the Out of the Box Experience wizard, you may be asked for it at this screen, type the password and press Enter on your keyboard to log in. If you did not select a password during the wizard process, you will be logged into Windows automatically.
The first time that you log into a new user account on Windows, the operating system needs to configure your user profile, create your user directories, and create your user accounts registry file. Subsequent log in attempts will be much faster.
A Job Well Done
Congratulations! You have successfully installed Windows Vista! Have fun with it, and be sure to check out the assortment of programs which are included by clicking on your Start button, and then click on All Programs. Give yourself a pat on the back for a job well done!
Planning on dual booting?
If you are planning on setting up a dual boot configuration with Windows Vista, you may want to look at EasyBCD (Easy Boot Configuration Database editor), which allows you to manage multiple operating systems with ease (including Windows XP, Windows Vista, Linux, and even Mac OS X!). EasyBCD is a free program and a very easy and pain-free way of getting multiple operating systems to play nice with one another without shelling out the cash for a second machine.