This knowledgebase article explains what’s really happening when you experience an endless reboot loop when starting Windows, usually with your PC flashing between the BIOS POST screen showing your PC manufacturer’s logo (like Dell, HP, Toshiba, Acer, ASUS, Samsung, LG, Lenovo) and then showing the Windows is loading screen.
This guide is for the following Windows versions: Windows XP, Vista, 7, 8 or 8.1
Contents
About the “Windows Infinite Reboot Loop”
The following information on this error has been compiled by NeoSmart Technologies, based on the information gathered and reported by our global network of engineers, developers, and technicians or partner organizations.
Description and Symptoms
The error messages, alerts, warnings, and symptoms below are tied to this error.
Symptom 1: Every attempt to start Windows just results in a reboot
Every time an attempt is made to power up and start a Windows PC running Windows XP, Windows Vista, Windows 7, or Windows 8, the startup procedure begins normally but once Windows has begun to load or just as the Windows startup screen and bootloading process is about to complete, the PC suddenly restarts.
A glimpse or flash of a blue screen may be visible for a short period of time (from a split-second to several seconds) as the PC begins to reboot.
Subsequent restarts or power cycles of the PC result in the same behavior.
Causes of this Error
This error has been known to occur as a result of one or more of the following:
Cause 1: Blue Screen of Death during startup
If every time you power up your PC it ends up trying to start Windows then suddenly restarting your PC back to the BIOS screen, what’s really happening is that your computer is experiencing a BSOD (blue screen of death) during the startup process, then rebooting in hopes of it working better next time (try, try again). Unfortunately, that’s often not the case and it ends up in a permanent reboot cycle.
The problem is that because it reboots when the BSOD occurs, you don’t get a chance to actually see the blue screen to note the error codes and text to research.
This was not the original behavior of earlier versions of Windows, which would normally stop at the blue screen of death if it occurs, and allow the user to view the details of the BSOD stop code and error text to aid in troubleshooting and researching solutions for this error.
Fixing an “endless reboot loop” on Windows
Windows Setup CD/DVD Required!
Some of the solutions below require the use of the Microsoft Windows setup CD or DVD. If your PC did not come with a Windows installation disc or if you no longer have your Windows setup media, you can use Easy Recovery Essentials for Windows instead. EasyRE will automatically find and fix many problems, and can also be used to solve this problem with the directions below.
Fix #1: Use System Restore via Easy Recovery Essentials
Easy Recovery Essentials can fix many errors such as this automatically using the System Restore feature of the bootable EasyRE environment. EasyRE is currently available for Windows XP, Vista, 7, 8, 10, and Windows 11 and can be downloaded and created on any PC.
The System Restore feature of EasyRE is “fully non-destructive” — it does not in any way touch, remove, or undo changes to your personal files and folders (such as the Desktop, Downloads, Music, Pictures, etc.)
- Download Easy Recovery Essentials. It’s important to download the copy that corresponds to your Windows version (XP, Vista, 7, 8, 10, or Windows 11). If you’re unsure, this guide can help you identify what version of Windows you have installed.
- Burn the image. Follow these instructions on how to burn the bootable ISO image very carefully, as making a bootable CD can be tricky! Alternatively, these instructions explain how to create a bootable EasyRE recovery USB stick/drive.
- Boot up your PC from the Easy Recovery Essentials CD or USB you created.
- Once EasyRE is running, choose the “Automated Repair” option and click Continue.

Choose “Automated Repair” in Easy Recovery Essentials
- After EasyRE scans your computer’s drives, identify and select the drive letter for your Windows installation from the list, and then click on the System Restore button to begin.

Choose the drive associated with the Windows installation you’re trying to repair.
- EasyRE will scan the selected Windows installation for System Restore points. System Restore snapshots that were located, if any, are then listed and displayed, allowing the user to choose a particular snapshot (associated with a certain date) for restore/recovery:

Pick a restore point for EasyRE to recover.
After selecting the restore point you which to revert your system to, click on Restore to begin.
- EasyRE will begin the process of restoring your system configuration to the state it was in at the date that was selected. Only system files and registries will be affected, as the Easy Recovery Essentials’ System Restore feature is non-destructive and does not affect user data.

Choose the drive associated with the Windows installation you’re trying to repair.
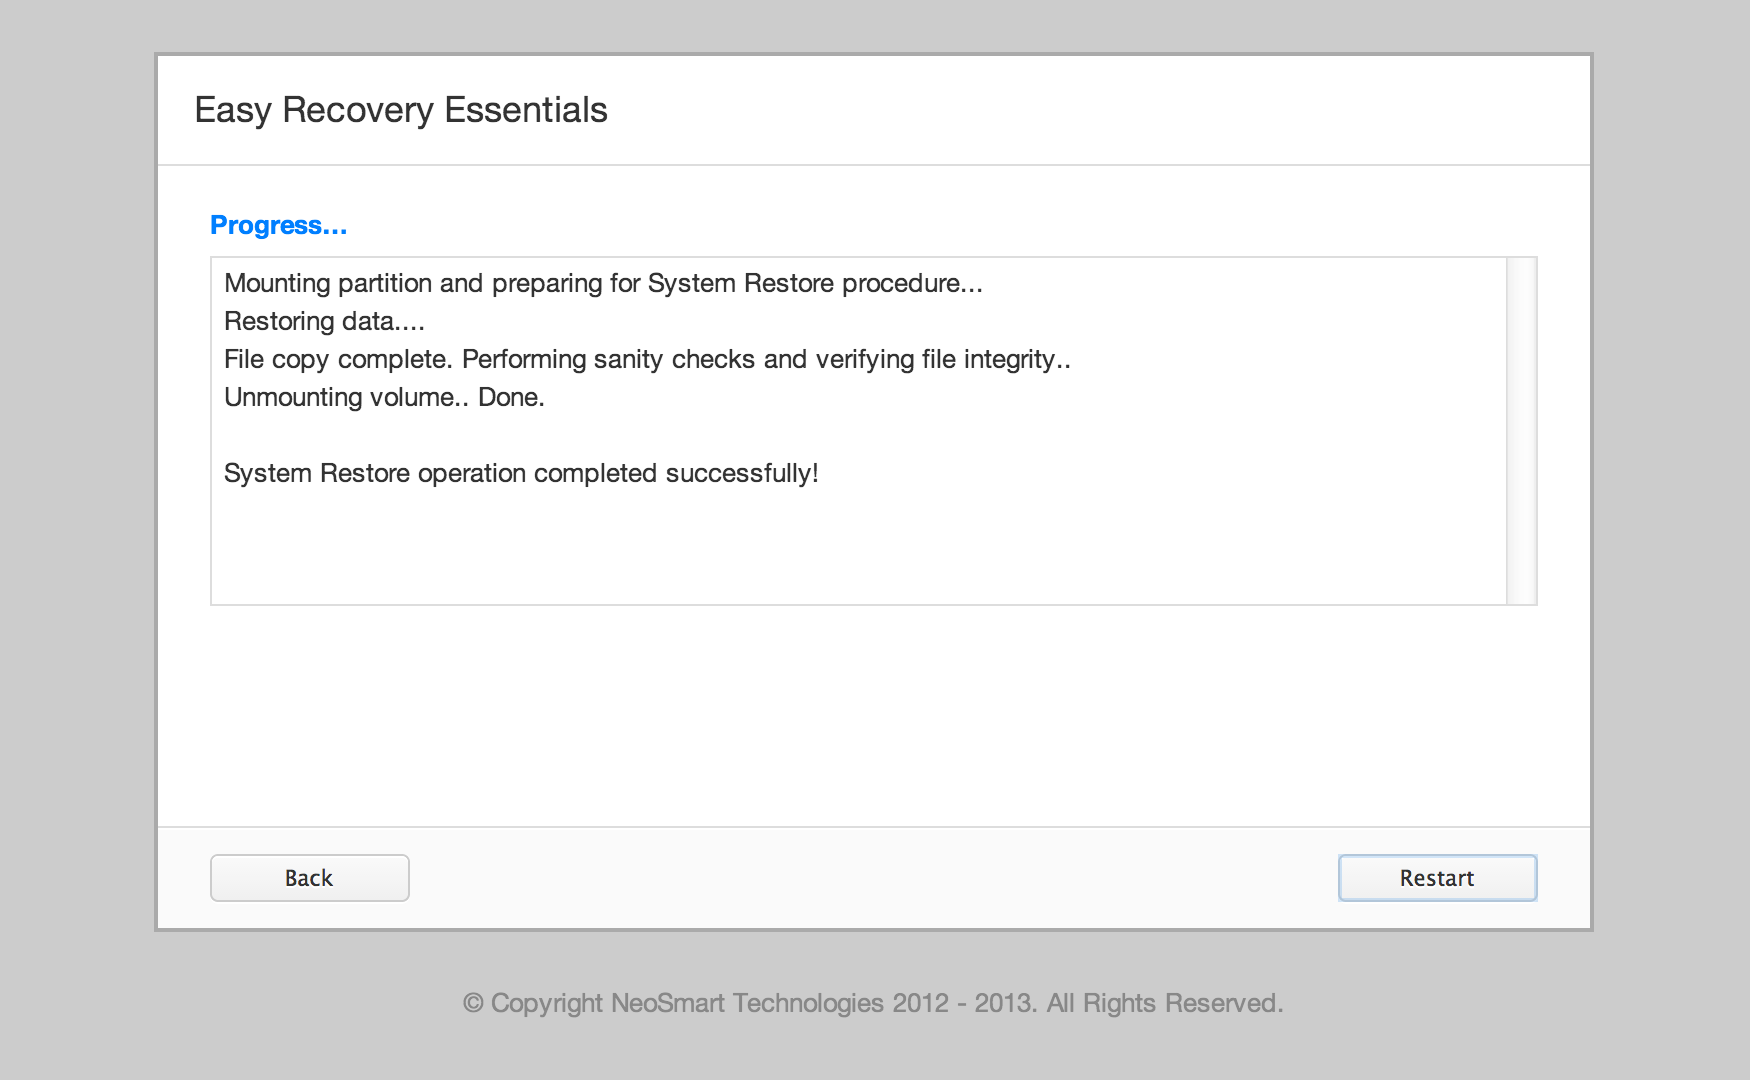
- Once the process is complete, EasyRE will report its findings. Click on the Restart button to reboot your PC and test the changes.
- The “endless reboot loop” error should now be fixed as your PC begins to load:


Download Easy Recovery Essentials.
Fix #2: Disable automatic restart on system failure
This option lets you get the exact and complete error message accompanying the Blue Screen of Death by disabling the Automatic Restart option of Windows. Note: this will not fix the boot error you are experiencing in and of itself, but should provide more information that may prove critical in solving the underlying problem.
The option to disable automatic restart on system failure is available from the Advanced Boot Options menu at startup. The instructions below will trigger this behavior, more detailed instructions on disabling automatic restart on system failure are also available in our knowledgebase.
- Restart your computer
- Wait for your BIOS to complete POST (the screen with your manufacturer logo and/or system information)
- Quickly begin tapping F8 repeatedly, until you see the list of boot options
- Choose “Disable automatic restart on system failure”
- Press Enter and wait for your PC to boot.
What is the message on that screen and what error code does the BSOD display? The information on this Blue Screen of Death is vital to troubleshooting the actual, underlying issue.
Fix #3: Use Startup Repair
The Startup Repair or “Recovery Your Computer” feature, available from Windows Vista onwards (including Windows 7 and Windows 8 or 8.1, as well as Server 2008 and Server 2012) can be used to both attempt to correct the problem as well as perform system diagnostics in an attempt to pin-down what the specific underlying cause of the reboot loop, in the presence of the split-second BSOD or otherwise.
Startup Repair is an automated diagnosis and repair tool that is available from the Windows setup disc and can be used to find and repair some common problems. More information about how Startup Repair operates and what it does can be found in our knowledgebase. The following steps will initiate Startup Repair from the Windows setup disc:
Unable to boot into the Windows setup CD?
See our guide on setting up a PC to boot from the CD or DVD for troubleshooting and more detailed instructions.
- Insert your Windows installation DVD into your PC’s CD-ROM drive,
- Fully power down your PC, and make sure it has fully shut off,
- Power up your PC,
- Press any key when you see “Press any key to boot from CD or DVD..”
- Click the link titled “Repair your computer” in the bottom-lefthand corner, after first selecting your language and keyboard options.

- Wait for Startup Repair to scan your PC for Windows installations, then select your install from the list it shows:

- Choose “Startup Repair” from the list of available recovery options to begin:

- Startup Repair will begin scanning your installation for known issues and will attempt a repair, if possible.


More Information
Linked Entries
Support Links
- Easy Recovery Essentials for Windows – our repair and recovery disk.
It’s an easy-to-use and automated diagnostics disk. It’s available for Windows 8, Windows 7 and Windows Vista. It’s also available for Windows XP and Windows Server.Read more at Windows Recovery Disks.
- The NeoSmart Support Forums, member-to-member technical support and troubleshooting.
- Get a discounted price on replacement setup and installation discs: Windows XP, Windows Vista, Windows 7, Windows 8.
Applicable Systems
This Windows-related knowledgebase article applies to the following operating systems:
- Windows XP (all editions)
- Windows Vista (all editions)
- Windows 7 (all editions)
- Windows 8 (all editions)
- Windows 8.1 (all editions)
- Windows Server 2003 (all editions)
- Windows Server 2008 (all editions)
- Windows Server 2012 (all editions)